 Failure & Technology Analysis
If products or single components fail, we will find out the root cause as quickly as possible, so that the error can be solved at an early stage to avoid further damage. With our services we test the quality and reliability of components, assemblies, systems and power electronics. In this way, we help you to analyse the failure precisely and define suitable measures. We are experts for the following procedures:
 Non-destructive testing
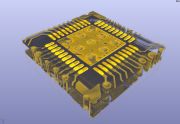
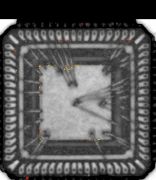
X-ray microscopy
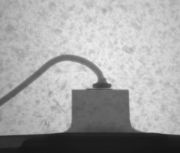
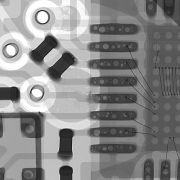
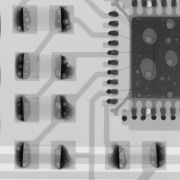
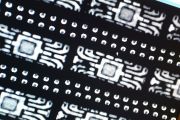
X-ray microscopy is a standard procedure for non-destructive testing of components and assemblies. Typical analyses are the solder joint evaluation with void calculation, analyses of the internal structure of components according to international standards and the support of destructive analyses.
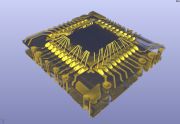
X-ray computer tomography
Using X-ray CT, a three-dimensional data set of the investigated object is generated, which can later be comprehensively analysed. X-ray CT is particularly suitable for the analyses of complex embedded or encapsulated systems.
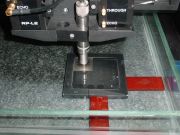
Scanning acoustic microscopy (SAM)
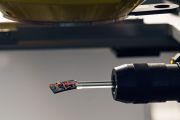
A scanning acoustic microscope can be used to quickly and effectively inspect the interior of components for delamination, cracks or other damages.
Visual control and whisker inspection
The visual inspection is a classic non-destructive method, which is used especially for solder joint inspection.
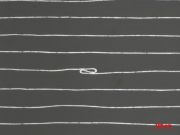
Whiskers, i. e. needle-shaped crystals, can be formed in electronic assemblies after a short time and lead to short-circuits. Whisker tests enable us to identify potential hazards at an early stage and prevent damage.
 Materials analyses
Metallography
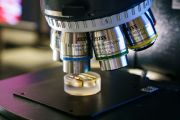
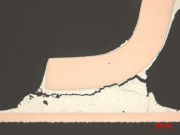
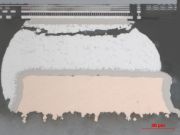
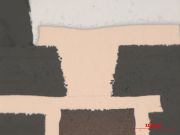
We prepare high-quality cross-sections of printed circuit boards, electronic assemblies, metallic parts and individual electronic components which we evaluate with the aid of various microscopic methods; stereo-microscope, light microscope (bright and dark field, polarized, UV) and scanning electron microscopy. This enables us to analyse errors and failures in your product or components with the utmost precision.
Measurement of ionic contamination
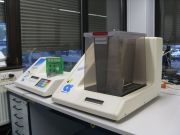
We use a contaminometer to measure contamination on printed circuit boards and assemblies. These impurities are often the reason why protective coatings on electronic components loosen or develop cracks. This also leads to migrations and dendrites, which can lead to leakage currents and thus to malfunctions. We offer qualification and appropriate tests to prevent or detect such impurities.
Scanning electron microscopy (SEM) and EDX spectroscopy
With the scanning electron microscope, in short SEM, we can examine your product or components in detail with very high resolution. In addition, we offer energy dispersive X-ray spectroscopy (EDX) to perform elemental analyses.
Spectroscopic and chromatographic methods
In cooperation with several partners we can offer you a wide range of chemical analyses of organic or inorganic substances. These include mass spectrometric and chromatic methods, infrared spectroscopy (FT-IR) and X-ray fluorescence analysis (XRF).
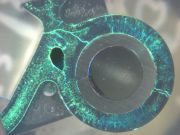
Dye penetration inspection
 Services related to integrated circuits
Technological analysis
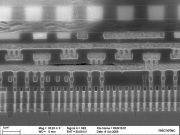
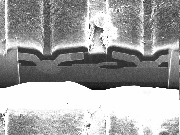
You want to know the technological level of your components? We analyse the structure, level of detail and structure dimensions of integrated circuits.
Failure analysis
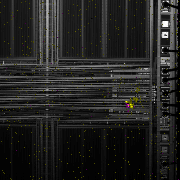
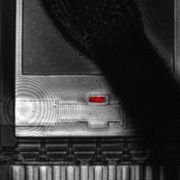
We offer comprehensive test methods for IC fault analysis down to the semiconductor level. We use a wide range of electrical tests and localization methods such as EBIC or OBIRCH.
Destructive Physical Analysis (DPA)
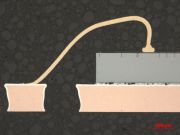
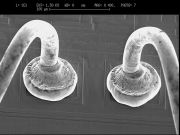
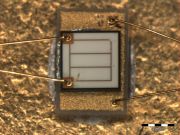
We check your components for reliability and evaluate the structure of individual components. In addition, we offer services from decapsulation of ICs components with laser or wet chemistry, internal visual inspection and analyses such as Bond Pull, Ball Shear and Die Shear tests.
IC modification and cross-sections with Focused Ion Beam (FIB)
With our Focused Ion Beam, we can cut through traces with precision or apply additional material if necessary during the development phase of your ASIC. The advantage is that you get fast and cost-effective results at an early stage. The possibility of producing cross-sections in materials in the micrometer range with the aid of the FIBs and thereby producing extremely low mechanical or thermal stress helps to better assess sensitive material layers.
Authenticity verification tests
If you are worried that you received counterfeit components, we offer authenticity verification tests. For this purpose, we compare the suspected components in detail with the outer and inner structure of the original product.
 Further services
Particle Impact Noise Detection (PIND)
With the Particle Impact Noise Detector (PIND-Tester) we detect loose particles in hermetic components.
Leak tests
We offer fine and gross leak tests of your components to ensure that they are hermetically sealed and meet the specifications.
Plastics testing
In cooperation with our partners, we offer you various methods of testing your plastic parts, such as melt index tests, stress cracking corrosion and thermal measuring methods.
Special tests
Do you need special tests that are not part of our standard portfolio? Ask us! This list contains only a part of our possibilities and we have numerous partners who can also offer non-standard methods.
You are interested in our failure analysis methods or a technological analysis? Feel free to contact us. We are glad to assist you.


